# Upgrade Database
SonicDICOM PACS uses Microsoft SQL Server Compact as the default database.
Since Microsoft SQL Server Compact is not necessary to be installed, it is suited for trial use of SonicDICOM PACS.
However, it is not suited for the use in a production environment.
And if you use this database in a production environment, we are unable to provide any support.
Therefore, if you intend to use SonicDICOM PACS in a production environment, you need to upgrade it to Microsoft SQL Server.
In this page, we provide information on how to upgrade to Microsoft SQL Server Express, which is a free edition, and Microsoft SQL Server Standard, which is a paid edition.
# Upgrade to Microsoft SQL Server Express
Although Microsoft SQL Server Express is available free of charge, it has a 10GB limit on the size of the database file.
If the size of the database file reaches its limit, errors may occur, such as not receiving DICOM files from modalities.
In this case, you need to upgrade the database to a higher edition such as Microsoft SQL Server Standard, which is a paid edition.
Info
Depending on the environment and usage, the approximate number of images that can be stored with Microsoft SQL Server Express is two million.
If there is a possibility of exceeding this, please consider upgrading to a higher edition such as Microsoft SQL Server Standard.
NOTE
Microsoft SQL Server Standard is a paid edition.
For more information on how to buy, prices, licensing details, etc., please contact Microsoft or a retailer of Microsoft products.
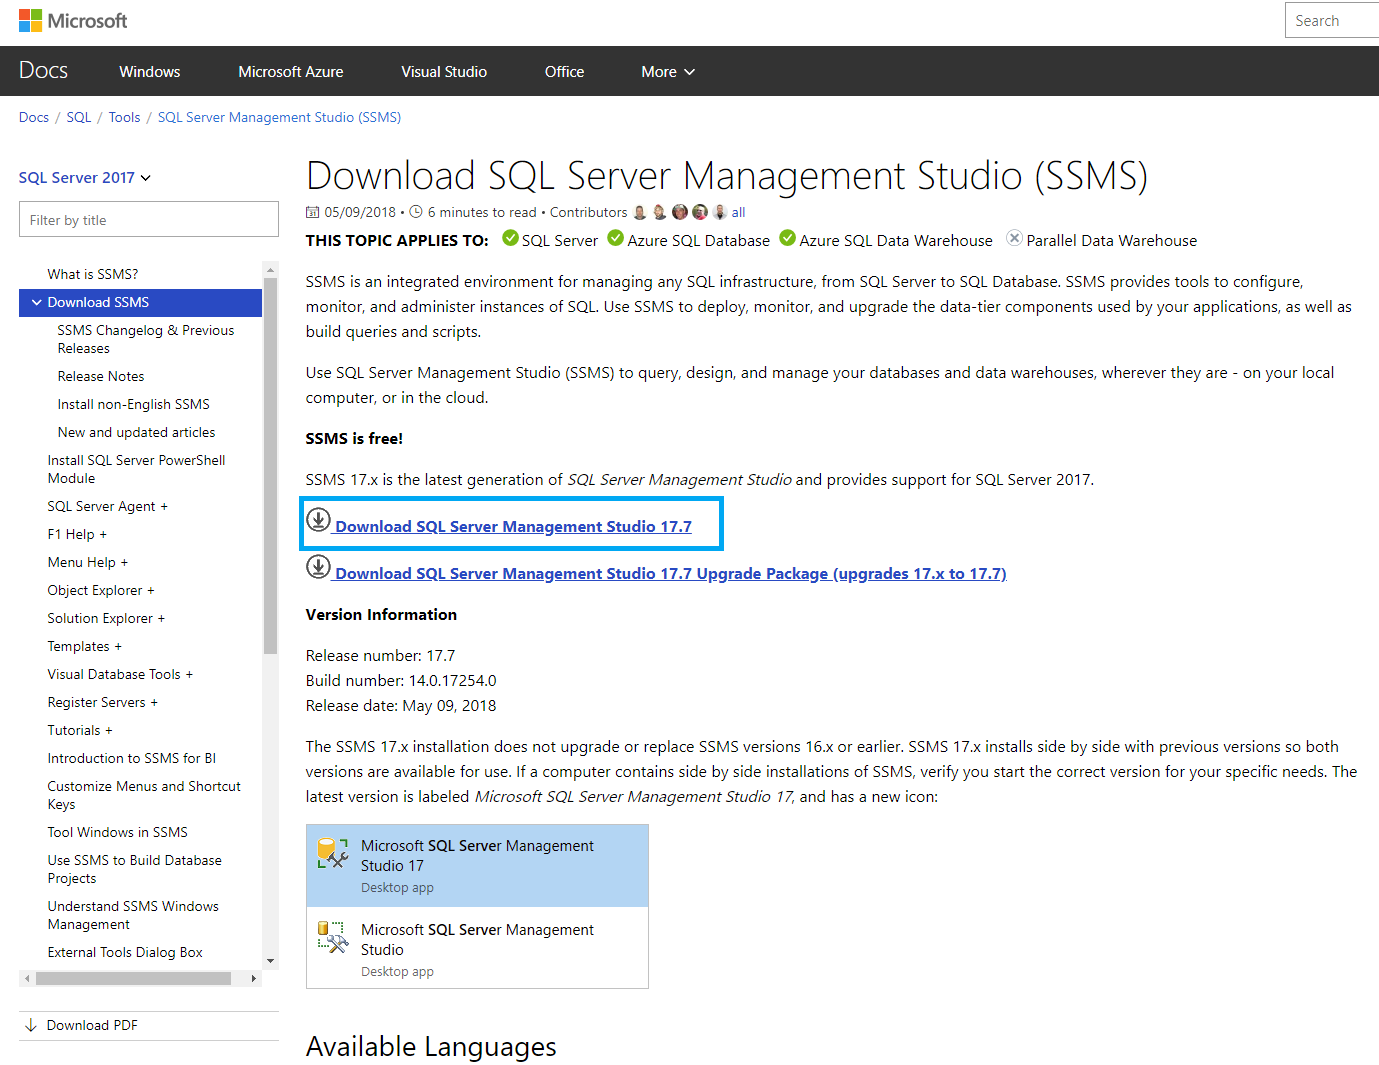
# How to upgrade
- Download Microsoft SQL Server 2017 Express from the following URL:
https://www.microsoft.com/en-US/download/details.aspx?id=55994 (opens new window)
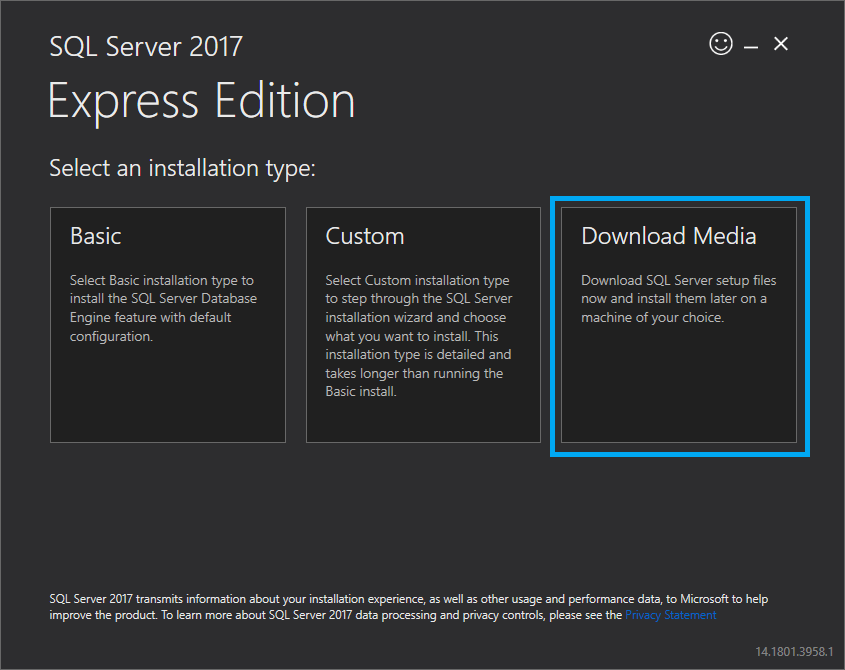
- Start up "SQLServer2017-SSEI-Expr.exe".
- Click "Download Media".
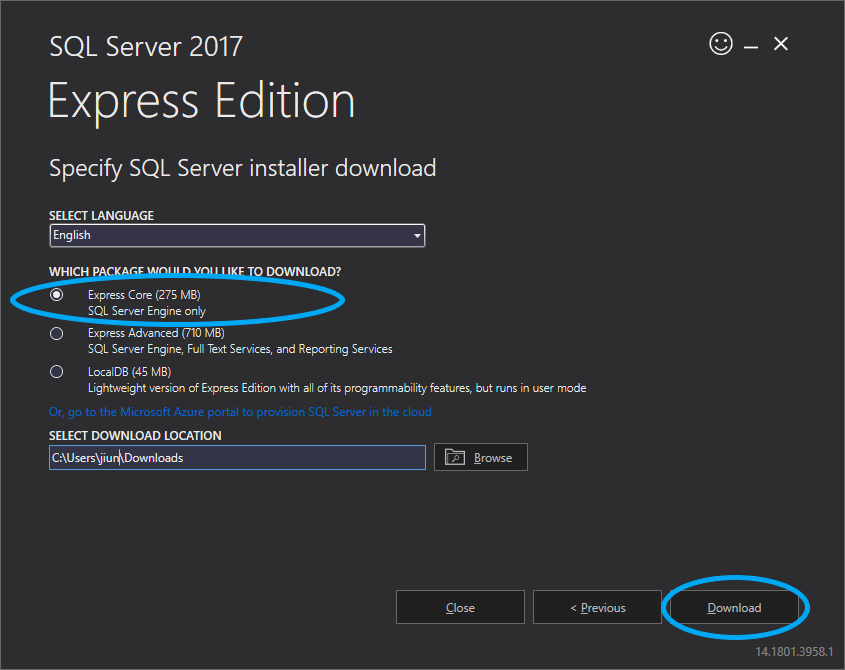
- Click "Express Core".
- Click "Download".
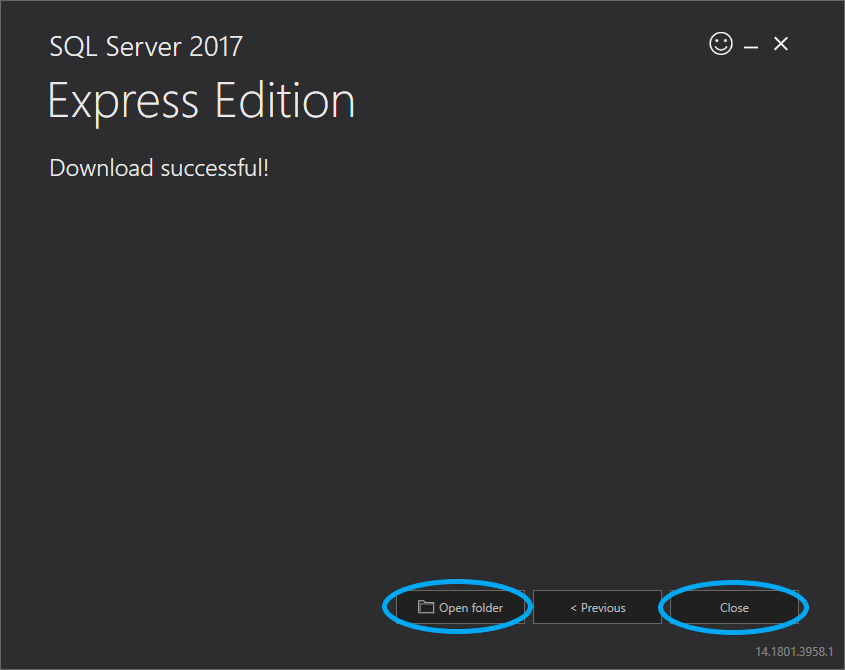
- Click "Open folder".
- Click "Close".
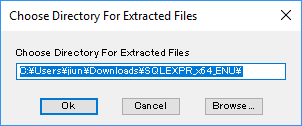
- Start up the installer "SQLEXPR_x64_ENU.exe" that is in the displayed folder.
- Click "OK".
- Click "New SQL Server stand-alone installation or add features to an existing installation".

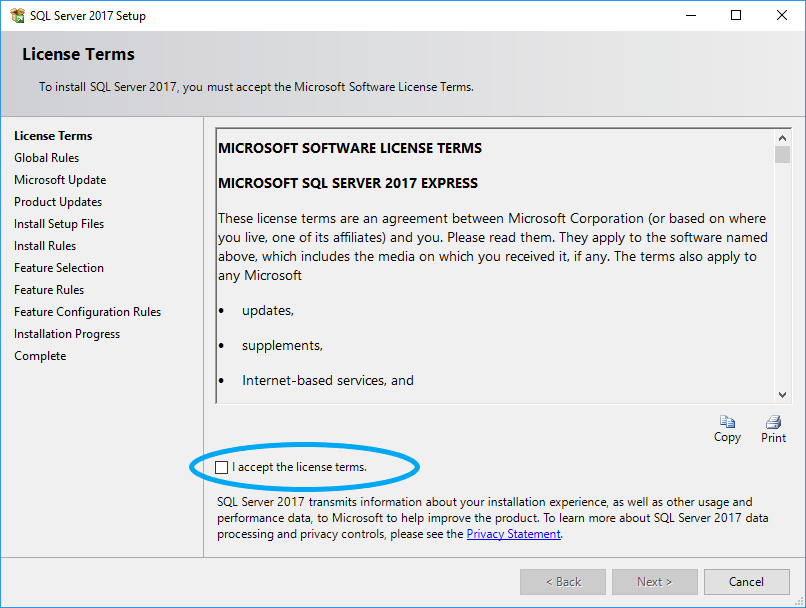
- Read through the "License Terms" and check "I accept the license terms." after confirming the content.
- Click "Next".
- Click "Next".
NOTE
If the environment can use Microsoft Update, we recommend checking "Use Microsoft Update to check for updates (recommended)".
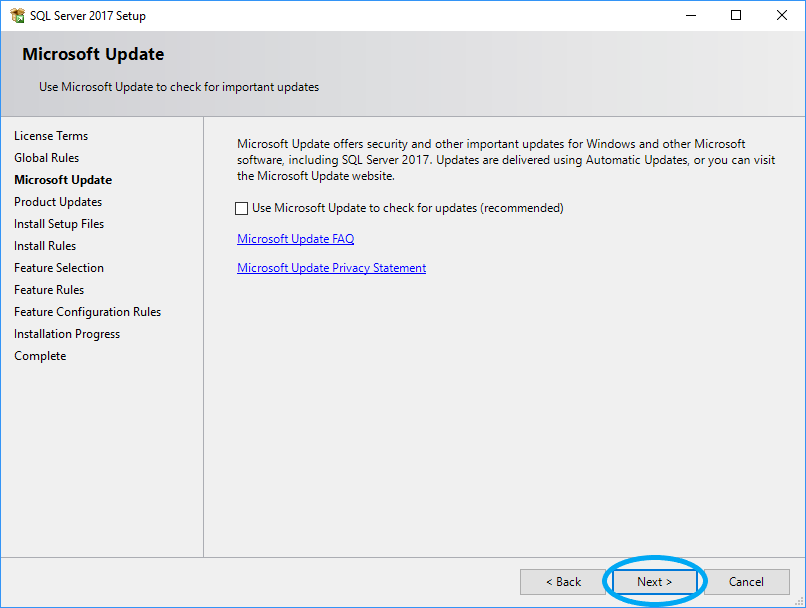
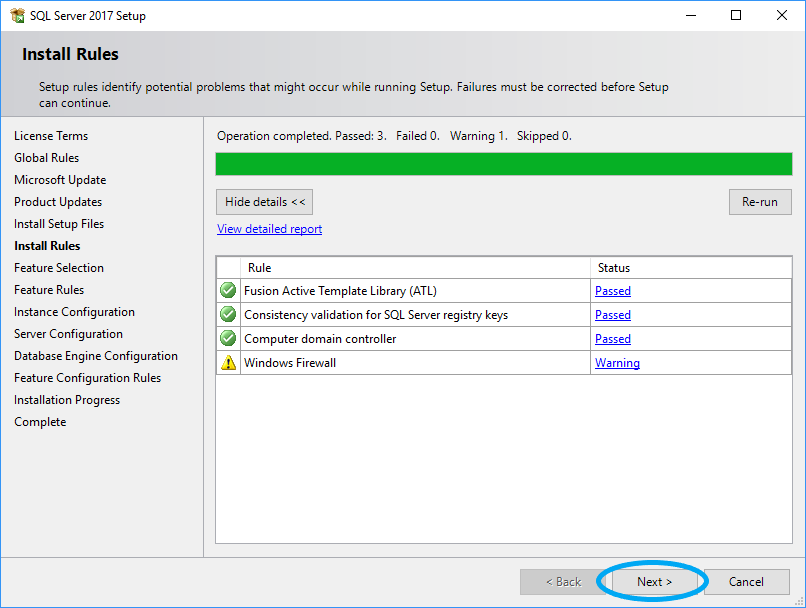
- Click "Next".
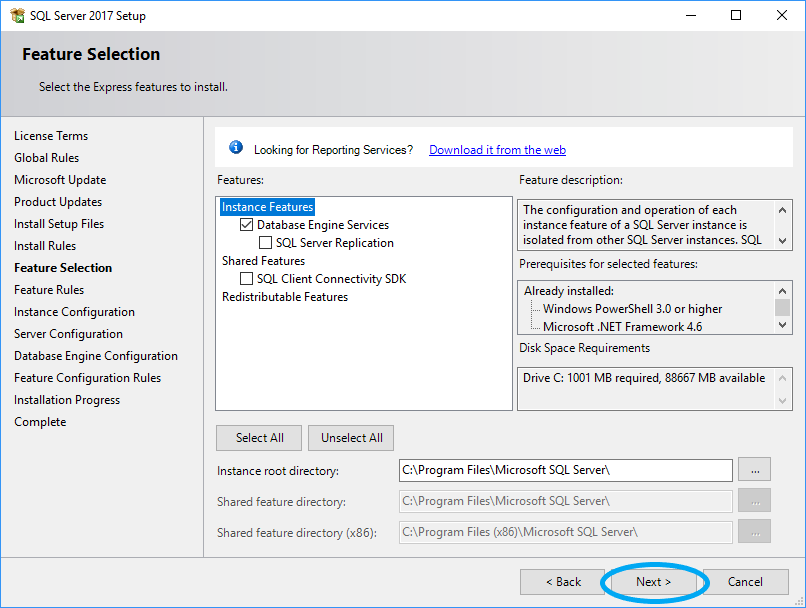
- Check "Database Engine Services".
- Click "Next".
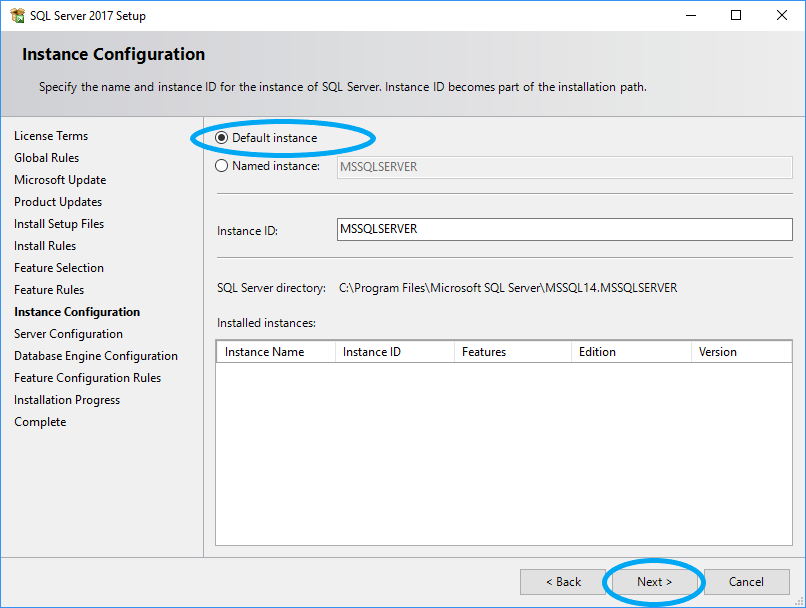
- Select "Default instance".
- Click "Next".
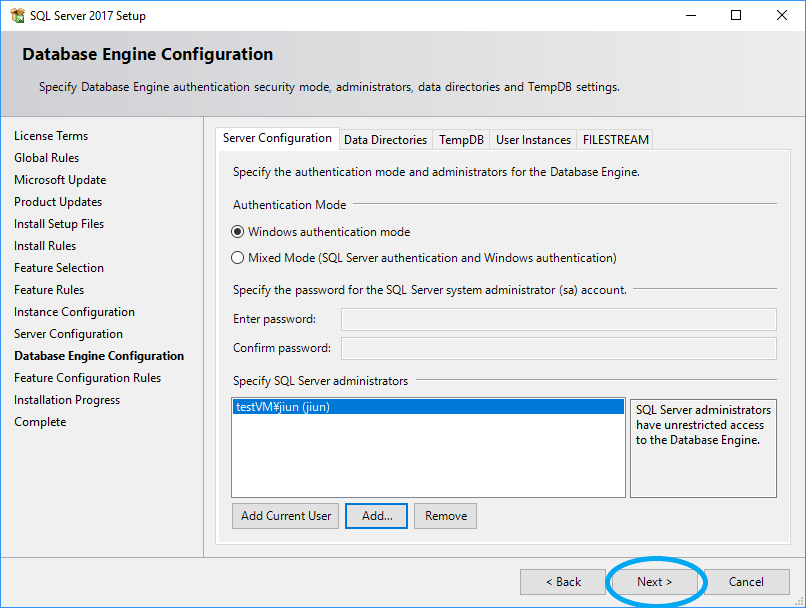
- Click "Next".

- Click "Next".
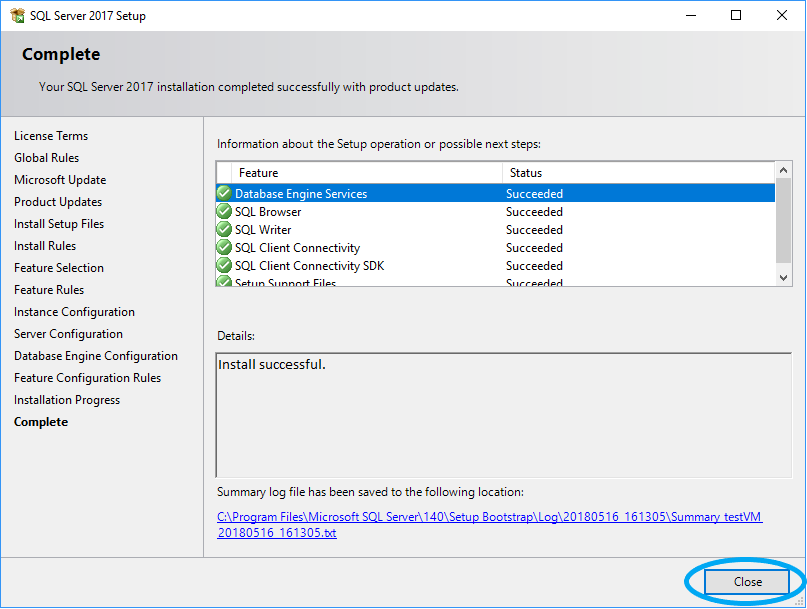
- Click "Close".
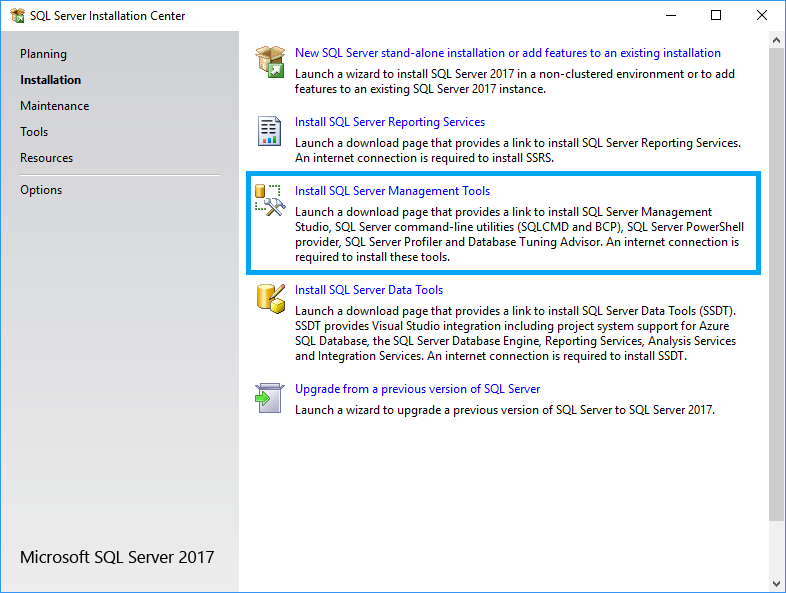
- Click "Install SQL Server Management Tools".
- Download the installer.
- Start up the downloaded installer "SSMS-Setup-ENU.exe".
- Click "Install".
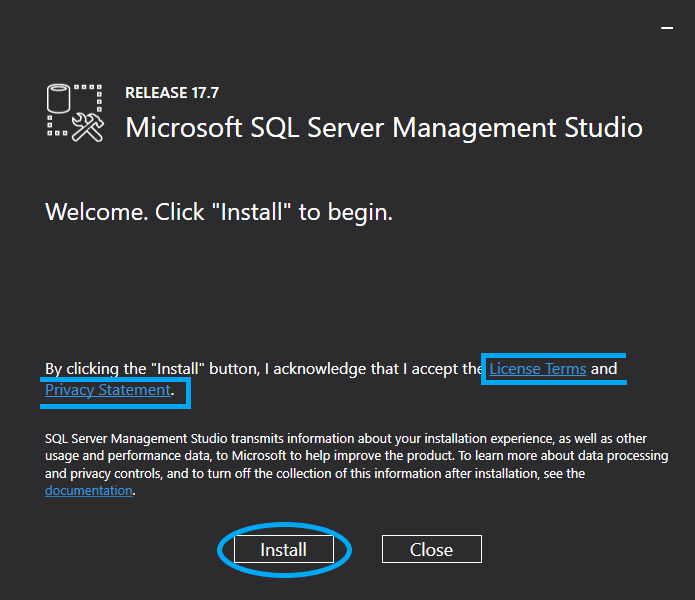
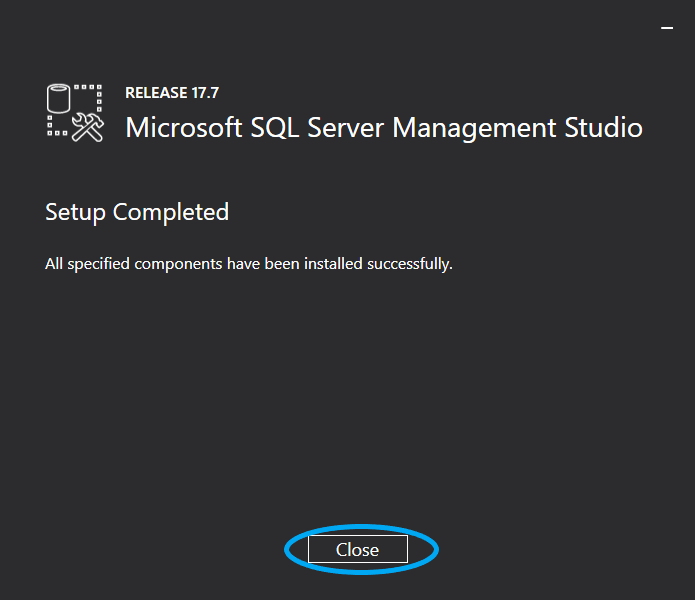
- Click "Close".
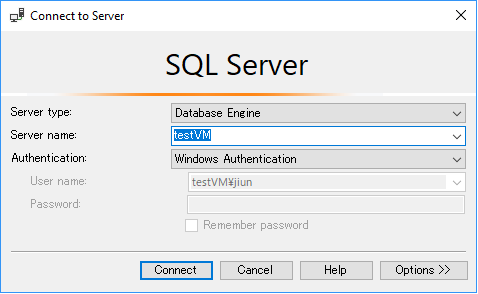
On the Start Menu, please follow
All Programs > Microsoft SQL Server 2017 > SQL Server Management Studioto start up.Click "Connect".
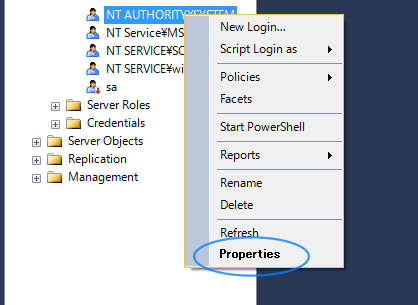
- From the left pane, click "Security".
- Click "Login".
- Right-click "NT AUTHORITY\SYSTEM".
- Click "Properties".
Info
When SonicDICOM PACS accesses the database, "NT AUTHORITY\SYSTEM" is the user name because SonicDICOM PACS operates as a Windows service.
- From the left pane, click "Server Roles".
- Check "sysadmin".
- Click "OK".
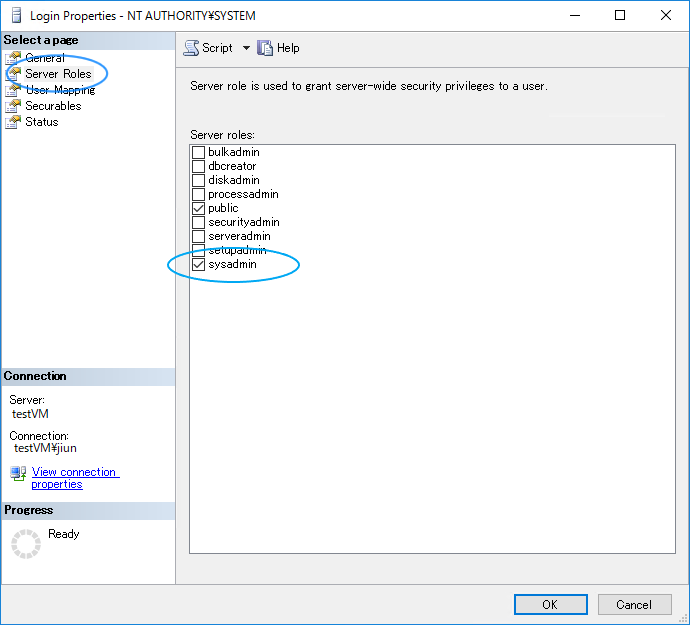
Info
When SonicDICOM PACS starts up, it needs to build database file. So "sysadmin" permission is necessary.
# Change the database to be used
- Click the link below and follow the instruction to change the type of database to be used to Microsoft SQL Server.
Reference Link
# Upgrade to Microsoft SQL Server Standard
# How to upgrade
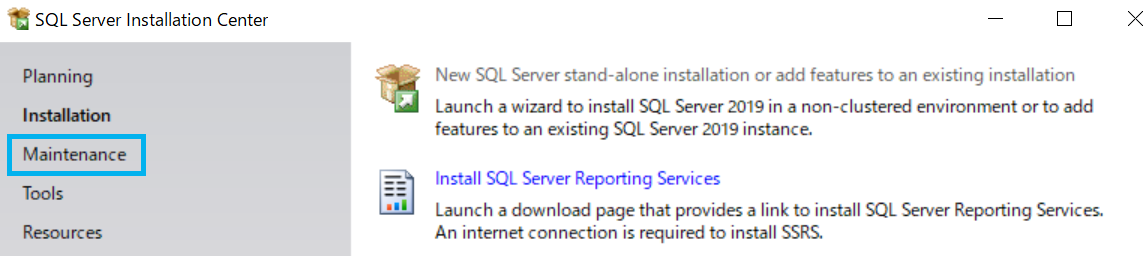
- Start "setup.exe" of Microsoft SQL Server Standard you obtained.
- Click "Maintenance".
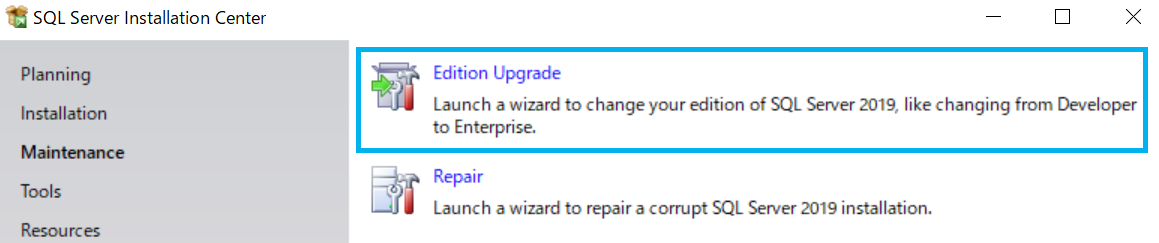
- Click "Edition upgrade".
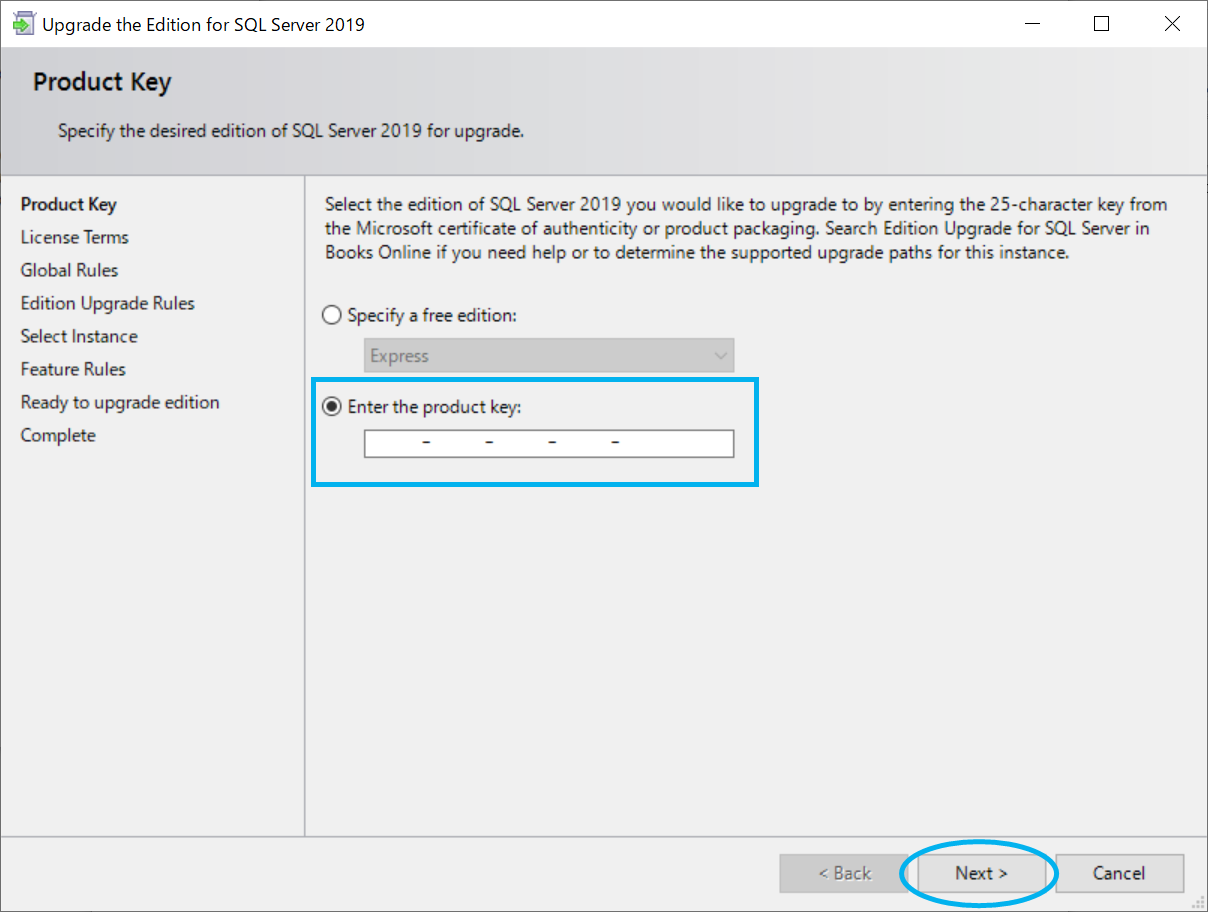
- Enter the Product Key.
- Click "Next".
- Read through the "License Terms" and check "I accept the license terms." after confirming the content.
- Click "Next".
- Select an instance of SQL Server.
If you selected the "Default instance" in step17., select "MSSQLSERVER". - Click "Next".
- Click "Upgrade".
- Click "Close".