# Restore Database
You can restore the database using the database file you backed up.
For information on how to set up backup, please refer to the following link.
Reference Link
# Check the settings
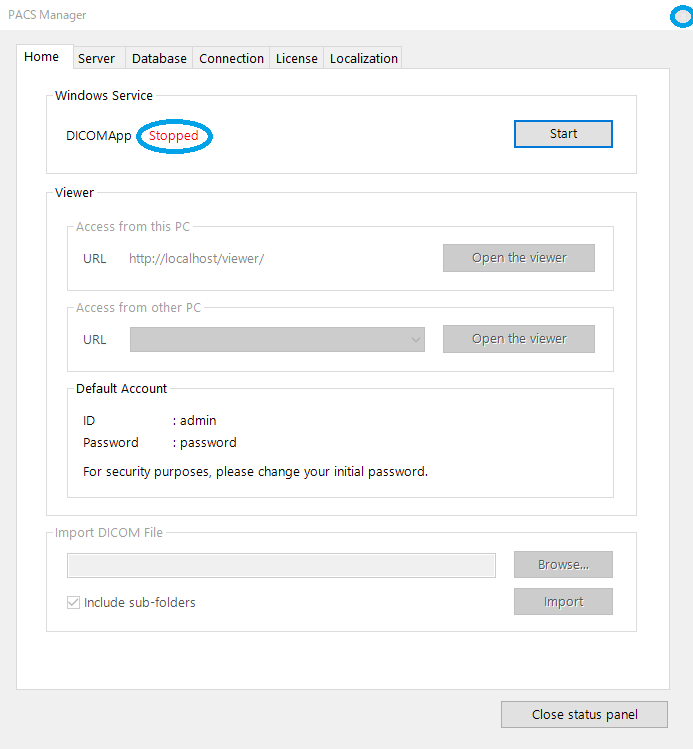
- Make sure that the status of DICOMApp is "Stopped".
If the status of DICOMApp is "Running", click "Stop" to stop PACS.
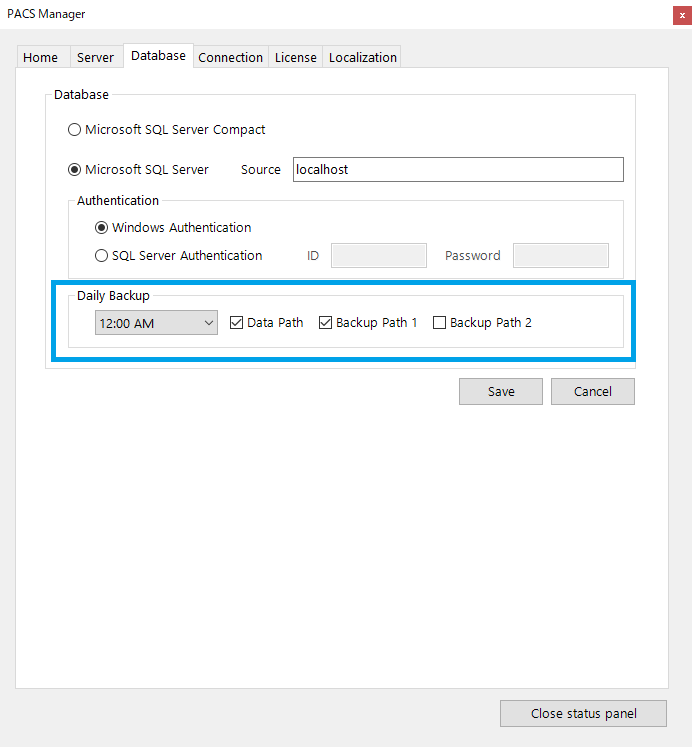
- Click the "Database" tab.
- Check which database is in use.
The restore procedure is different between Microsoft SQL Server Compact and Microsoft SQL Server.

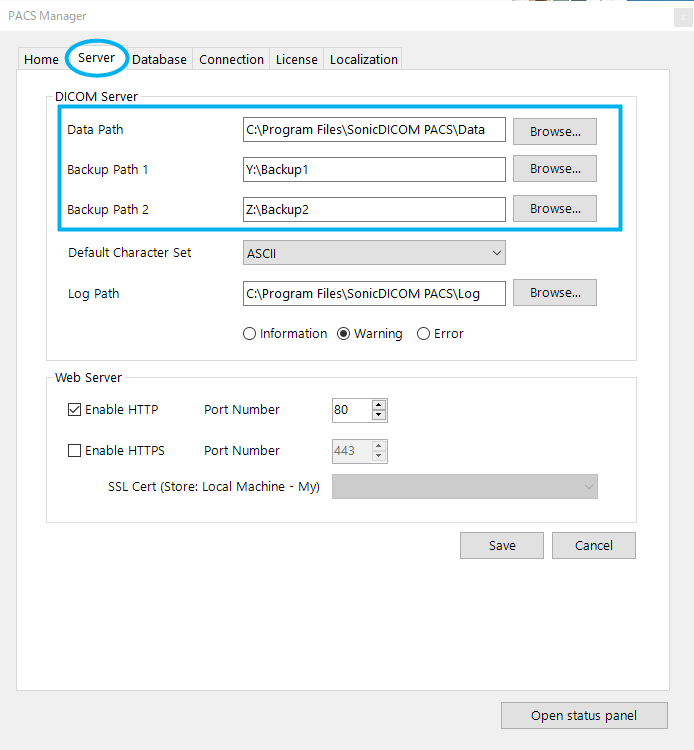
- Check the backup location for the database file.
- Click the "Server" tab.
- Check the path of the backup location.
# In the case of Microsoft SQL Server Compact
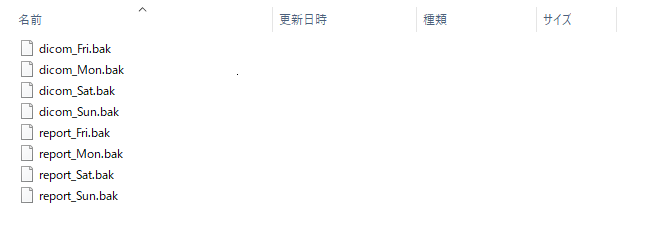
- Open the backup location of the database file.
Info
A backup of the database files is created for each day of the week.
The backed up file names will be<original file name>_<day of the week>.bak.
- Copy the database file to be restored and store it in any location.
WARNING
Be sure to use all database files created on the specific day of the week.
Restoring with only a part of database files may cause unexpected behavior.
Also, please be careful not to mix files created on different days of the week.
- Delete
_<day of the week>from the file name of the copied file and change the extension tosdf. - Overwrite the existing file in the folder where SonicDICOM PACS is installed with the file whose name has been changed.
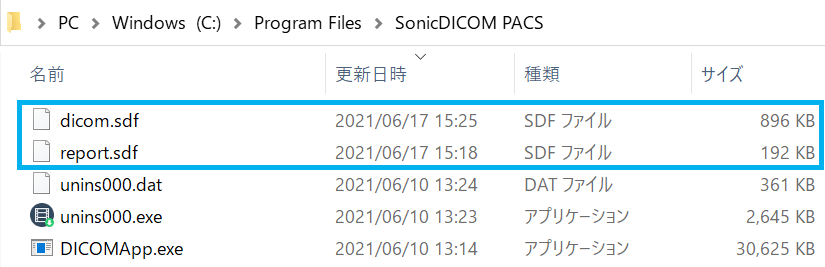
Info
The default installation location of SonicDICOM PACS is C:\Program Files\SonicDICOM PACS.
# In the case of Microsoft SQL Server
- Launch Microsoft SQL Server Management Studio.
- Make sure the displayed "Server Name" is the same as the instance that PACS is using and click "Connect".
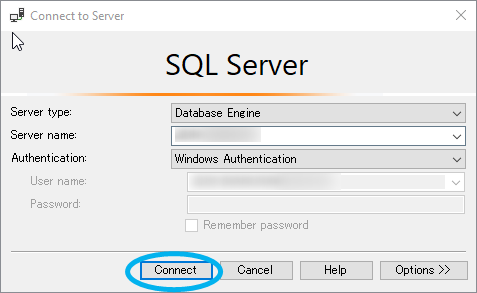
Info
If you use "Default instance", Computer Namewill be displayed.
If you use an instance other than "Default instance", Computer Name\Instance Namewill be displayed.
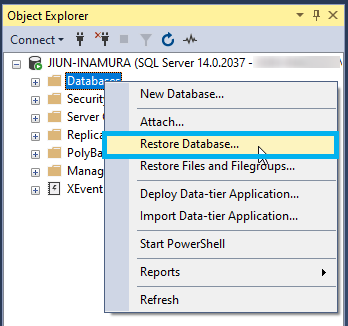
- Right click "Database".
- Click "Restore Database".
- Click "Device".
- Click "...".
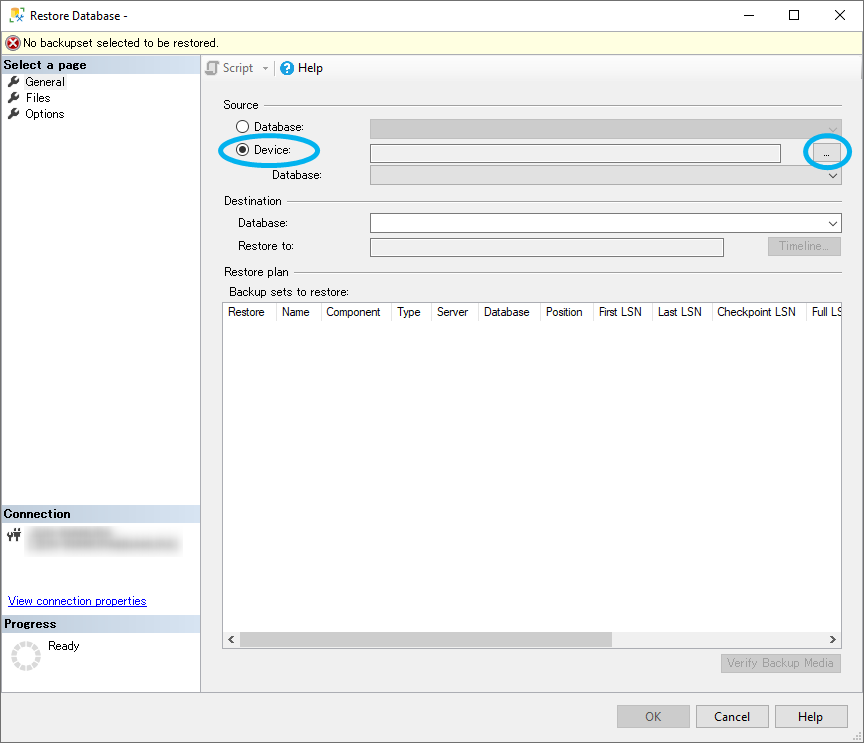
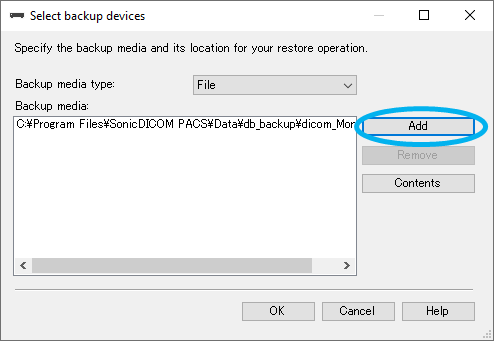
- Click "Add".
- Select the database file to be restored.
- Click "OK".
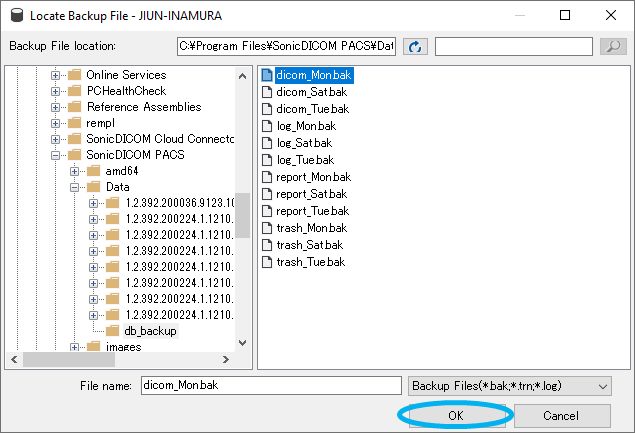
Info
A backup of the database files is created for each day of the week.
The backed up file names will be <original file name>_<day of the week>.bak.
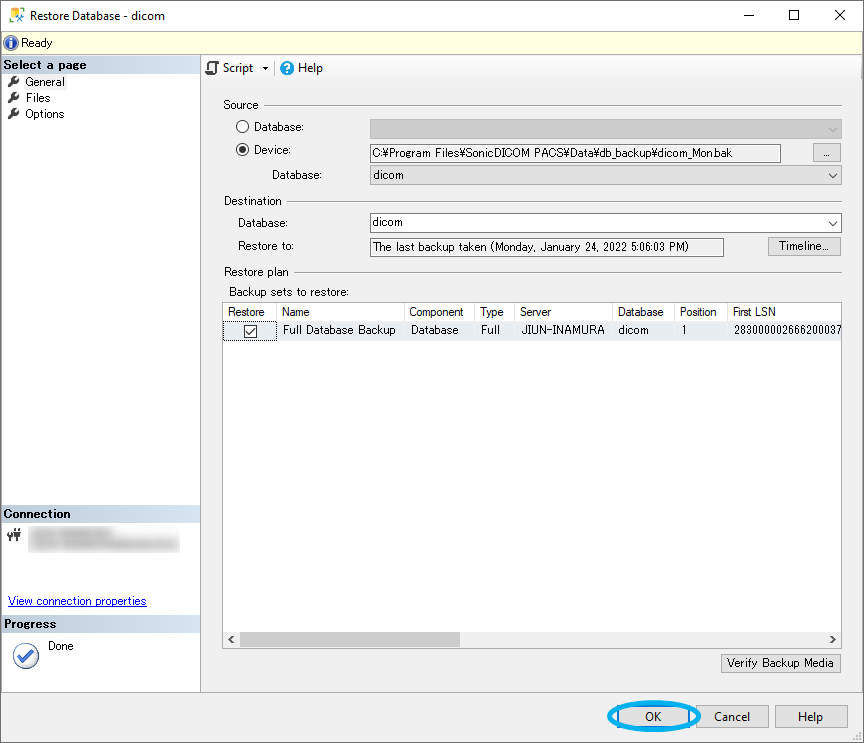
- Click "OK".
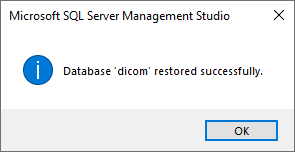
- When the selected database file has been successfully restored, the following dialog will be displayed.
- Repeat the steps from
8.to11.with all the database files created on the same day of the week as the one selected in8.to restore.
WARNING
Be sure to use all database files created on the specific day of the week.
Restoring with only a part of database files may cause unexpected behavior.
Also, please be careful not to mix files created on different days of the week.